Widgets are essential elements in WordPress that allow you to add functionality and content to your website’s sidebar. Here’s how you can customize your sidebar with existing and new widgets:

Widgets are a great way to add dynamic functionality and content to various sections of your WordPress site. Here’s how to customize widgets in specific areas:
1. Sidebar
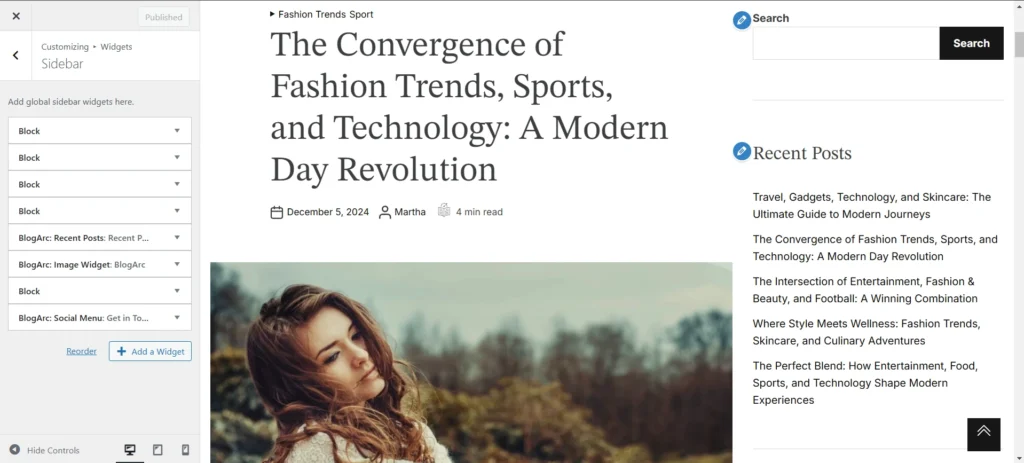
Add global sidebar widgets here.
- Reorder: Rearrange the widget positions within the sidebar.
- Add a Widget: Click the button to include new blocks or widgets.
2. After Header
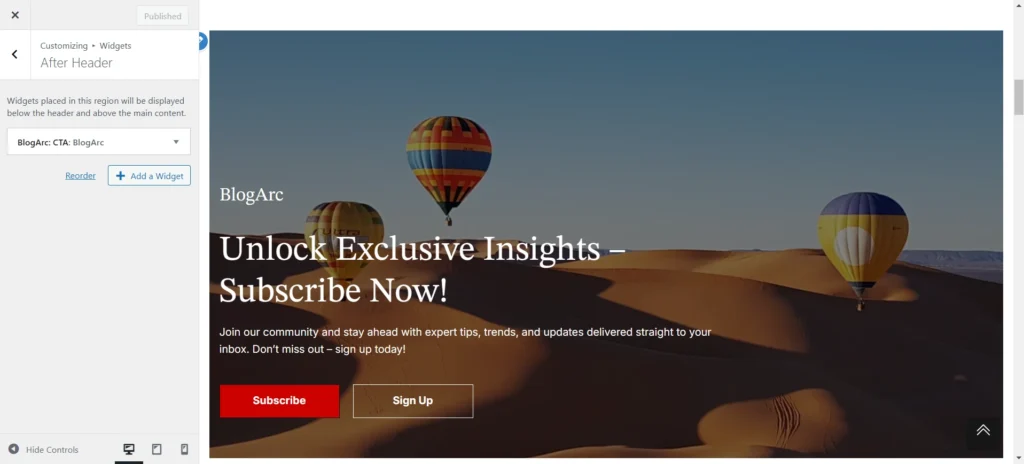
Widgets placed here will appear directly below the header and above the main content.
- Reorder: Adjust the order of widgets for optimal layout.
- Add a Widget: Insert widgets like banners, navigation, or announcements.
3. Before Footer
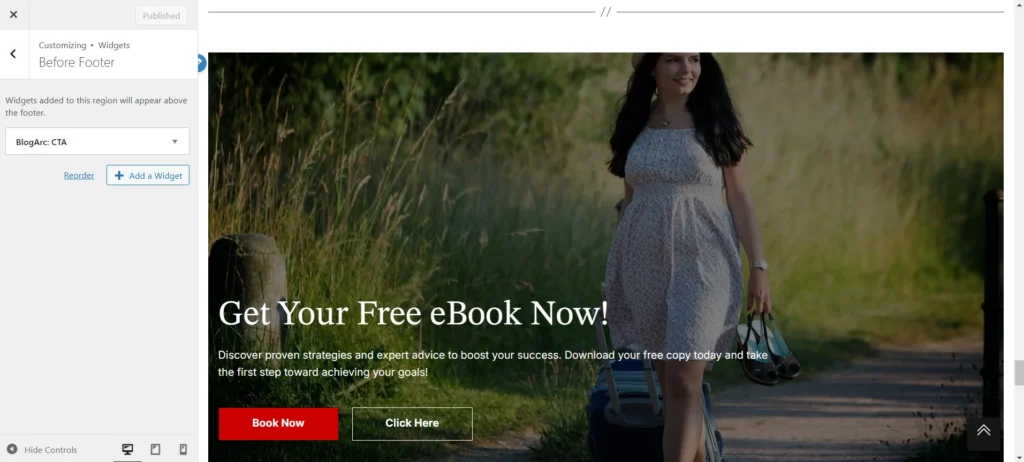
Widgets added to this region will appear above the footer.
- Reorder: Modify the widget order in this section.
- Add a Widget: Add widgets like subscription forms or promotional banners.
4. Footer Column 1
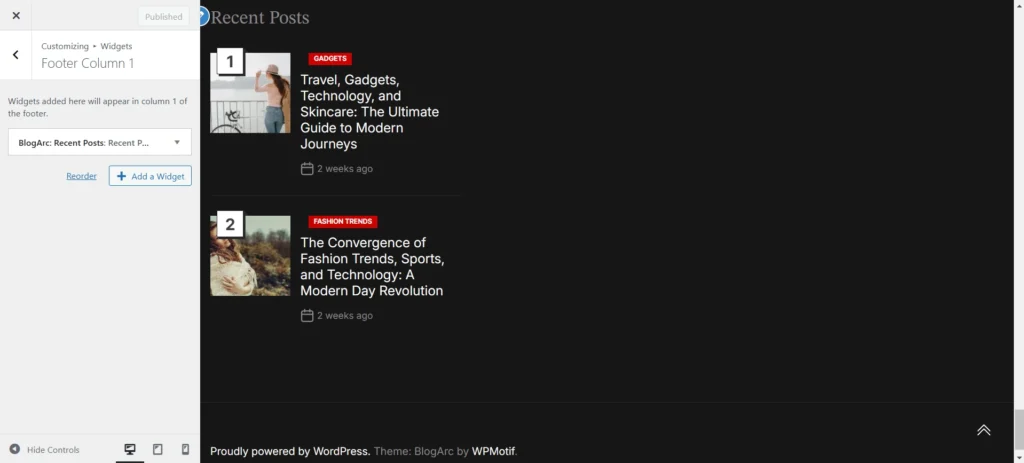
Widgets added here will appear in column 1 of the footer.
- Reorder: Rearrange widgets within the first footer column.
- Add a Widget: Add widgets such as contact information or navigation links.
5. Footer Column 2

Widgets added here will appear in column 2 of the footer.
- Reorder: Adjust the position of widgets in the second column.
- Add a Widget: Add widgets like social media icons or featured links.
6. Footer Column 3

Widgets added here will appear in column 3 of the footer.
- Reorder: Organize widgets for a structured display.
- Add a Widget: Include elements like disclaimers or copyright information.
7. After Footer
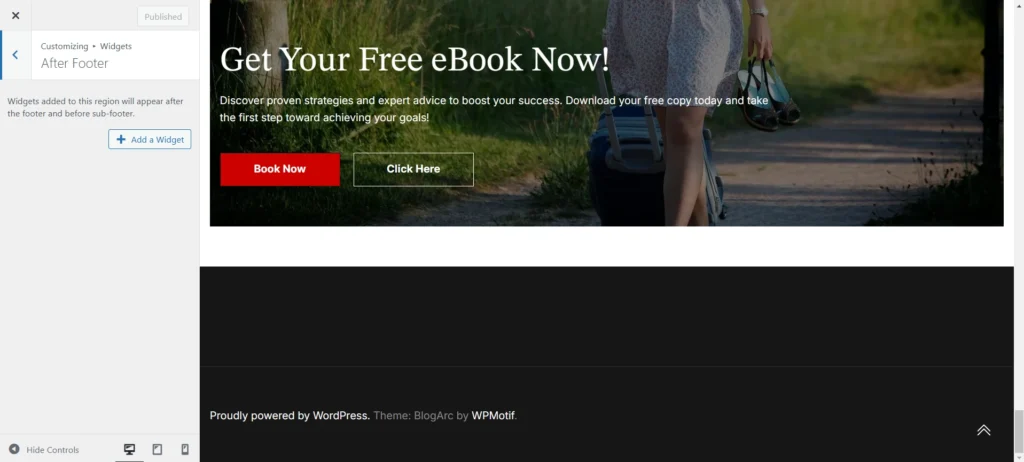
Widgets added to this region will appear after the footer and before the sub-footer.
- Add a Widget: Include widgets like credits or additional navigation.
With these customizable widget options, you can tailor your site to provide useful content and a seamless user experience.