WordPress offers powerful menu customization options to create intuitive navigation for your website. Here’s how you can manage and optimize menus:
1. Manage Existing Menus
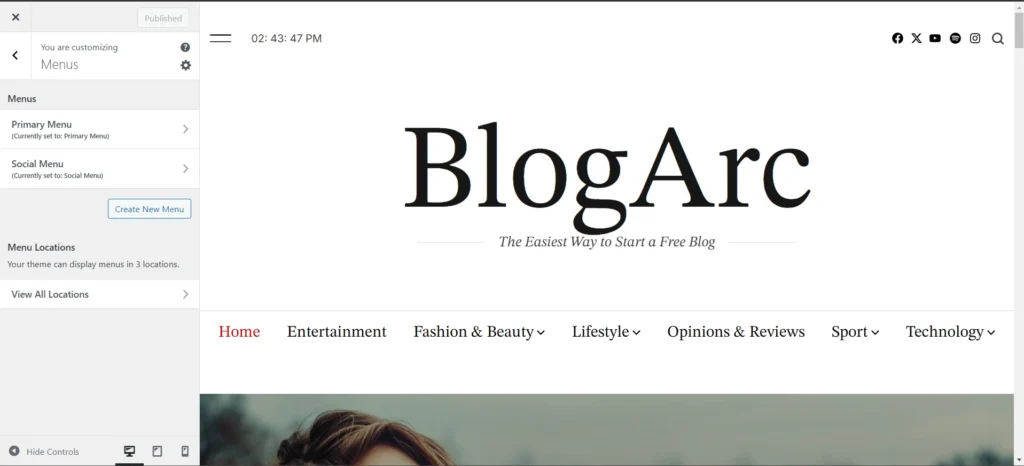
- In the Menus section, you’ll find a list of menus already created for your site.
- Select a menu to edit, reorganize its items, or update links. You can add pages, posts, categories, or custom links to enhance navigation.
2. Create a New Menu
- Click on Create New Menu to start building a new navigation menu.
- Assign a name to the menu and begin adding items like pages, categories, and custom links.
- Once created, you can assign it to a specific location, such as a header, footer, or sidebar.
3. Menu Locations
- Your theme supports up to three menu locations:
- Primary Menu: Appears in the header or main navigation area.
- Footer Menu: Designed for the footer section of your website.
- Social Menu: Used to display links to your social media profiles.
- Assign menus to these locations via the View All Locations tab. This allows you to specify which menu appears in each designated area.

4. Add Menus to Widgets
- If your theme supports widget areas, you can display menus in sidebars or footers using a Navigation Menu Widget.
- Navigate to the Widgets Panel and add the widget to a preferred area, then select the menu to display.
5. Editing and Customization Options
- Easily modify menus by rearranging items through drag-and-drop functionality.
- Customize menu item labels or add dropdown menus for subcategories to create an organized hierarchy.
With these tools, you can ensure your site’s navigation is user-friendly and aligns with your website’s design and functionality goals.